Note: Video tutorials are located at the bottom of this blog post
The Crochet Design Concept For The Honeymilk Throw Crochet Pattern: A Modern Granny Square Blanket.
Like many crocheters, I'm no stranger to granny squares. In fact, one of my first crochet projects ever was a large granny square blanket that turned out heavy, chunky, and overall had a very "handmade" look to it, which eventually ended up stored in the back of my closet! I've seen many granny square blankets over the years that always have that same "handmade" feel to it, which I've always personally thought was unattractive and outdated as a home decor item. So when I had the idea to create The Honeymilk Throw (a granny square blanket) I was a little hesitant at designing it because I really wanted it to turn out more "heirloom" than "handmade", and have a classic, sophisticated look to it. In other words, I wanted to do a modern twist on a classic design.
More Details About The Honeymilk Throw Crochet Pattern
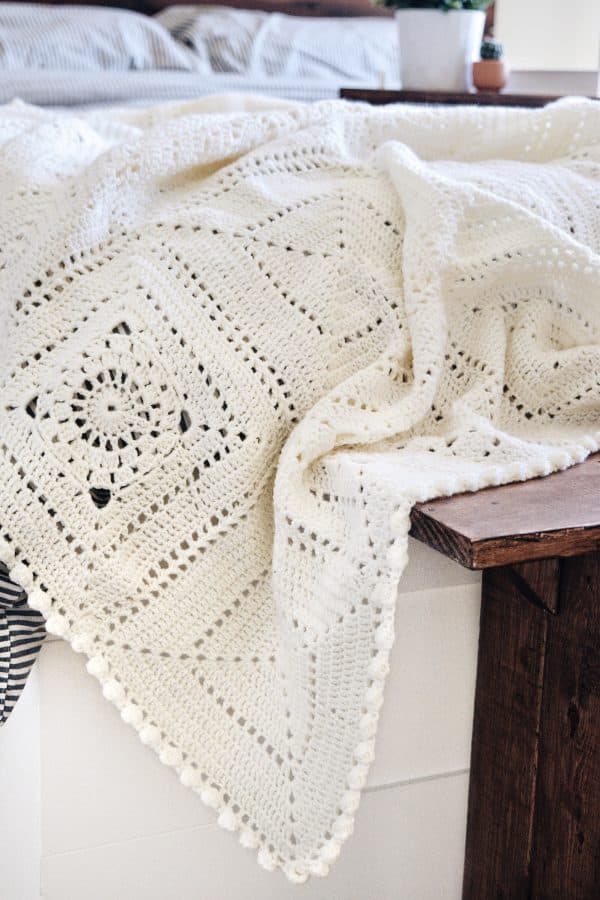
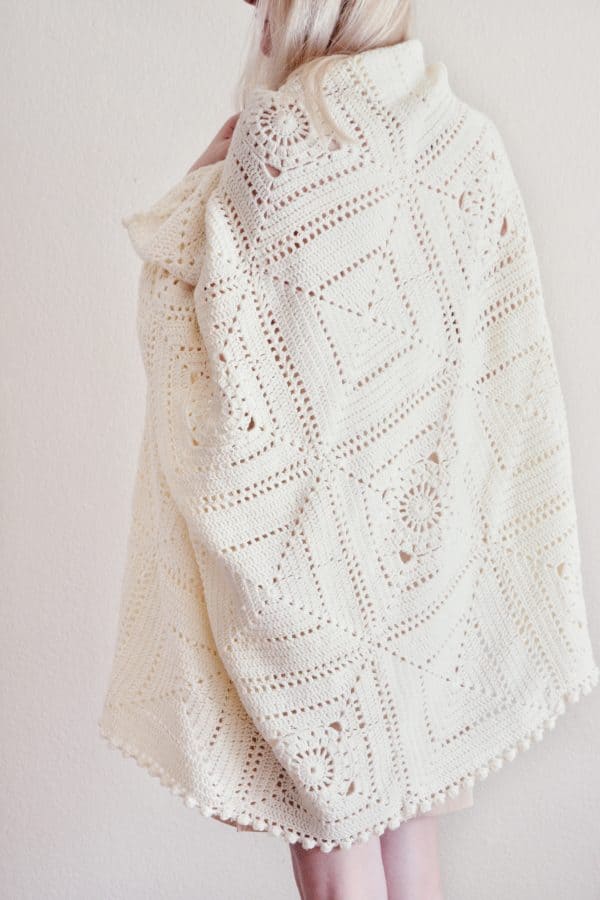
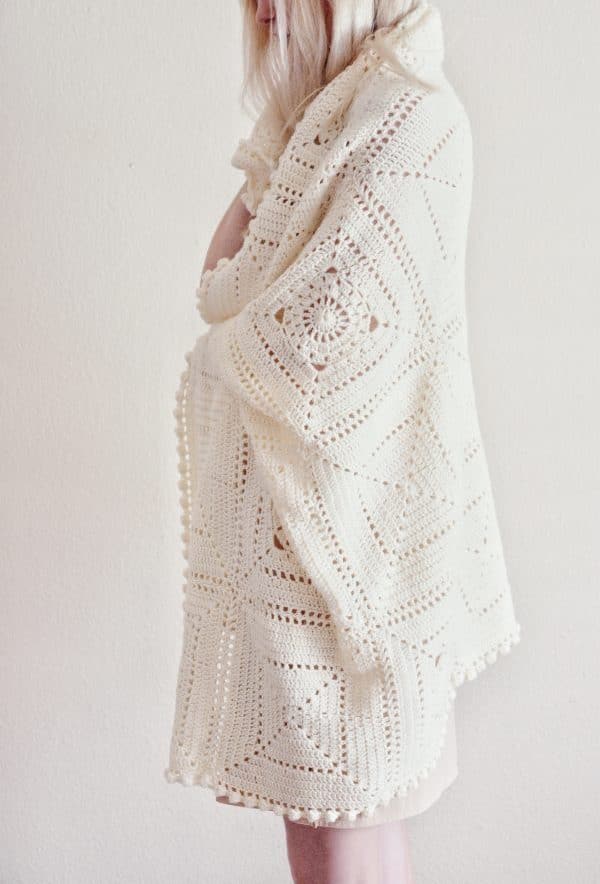
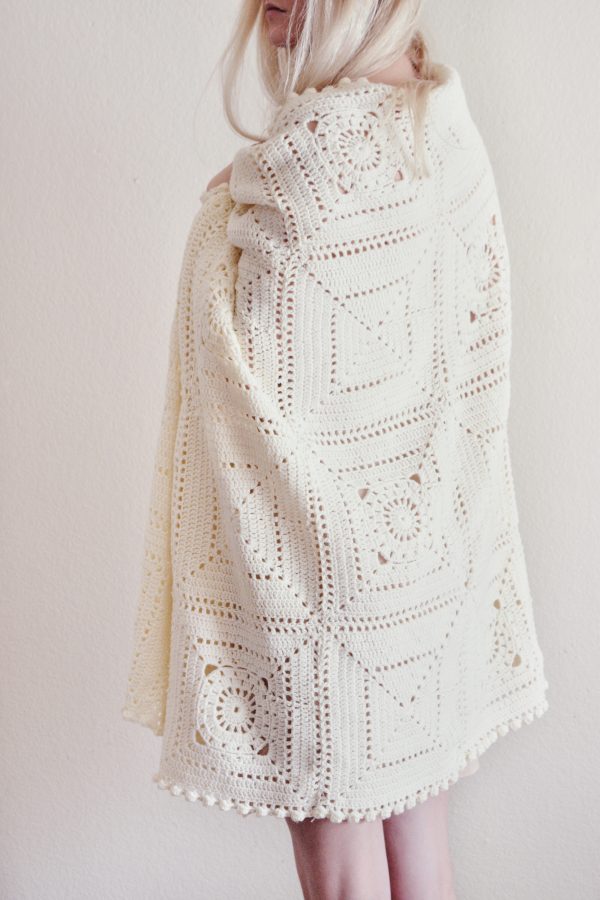
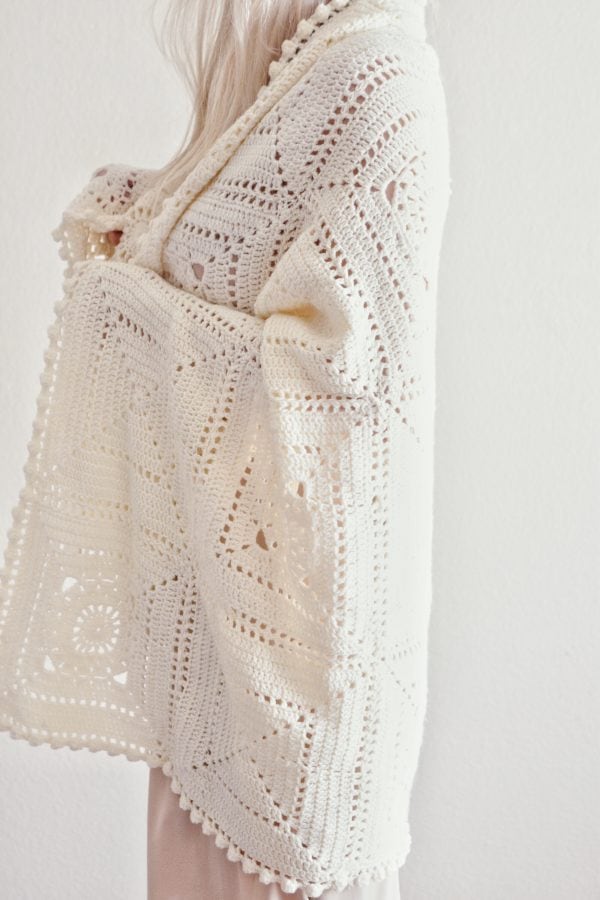
The Honeymilk Throw crochet pattern is definitely an heirloom blanket that is very simple to crochet. The blanket was specifically designed to have more of a modern twist on a classic original -- The Granny Square Blanket -- but it is just as simple to crochet, and the eyelet details keep your interest. The squares have an "x" and "o" design throughout, but also have corner edge eyelet details to tie it all together. And the throw also has additional added eyelet details throughout, to make the throw light and airy and not heavy and weighted, like many crochet blankets tend to end up like. It would look perfect in rustic farmhouse decor, super modern decor, shabby chic decor, or any other type, due to its classic cream color and design.
And guess what? When you purchase the pattern, you automatically gain access to three premium video tutorials to help guide you through crocheting the squares for the throw -- just to make it that much easier to make! All the videos are password-protected and are located at the bottom of this blog post. the password is located within the PDF pattern file. As always, if you ever run into any technical issues, the Darling Jadore Technical Support Team is always happy to assist you and can be reached via e-mail any day at [email protected].
The Honeymilk Throw Crochet Pattern Granny Squares Design And Look
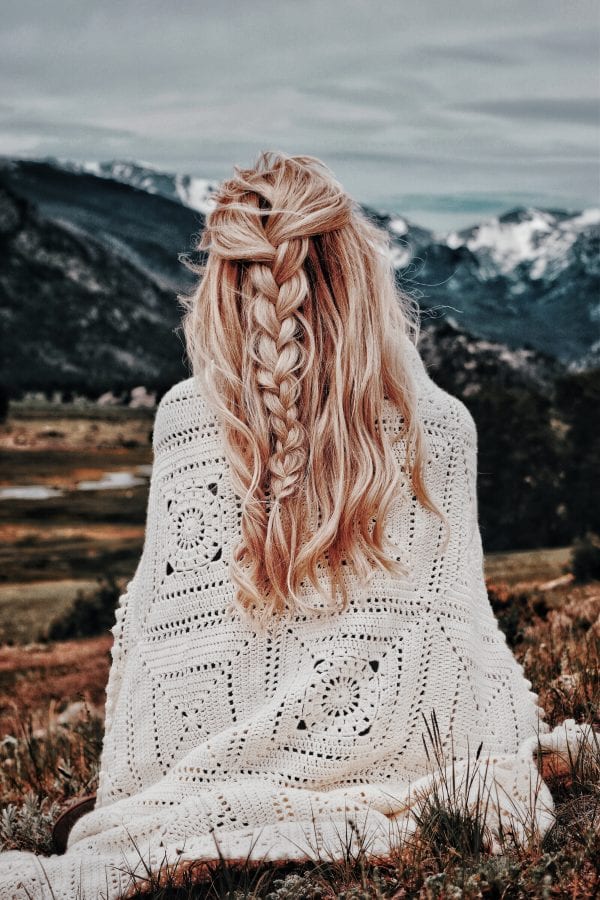
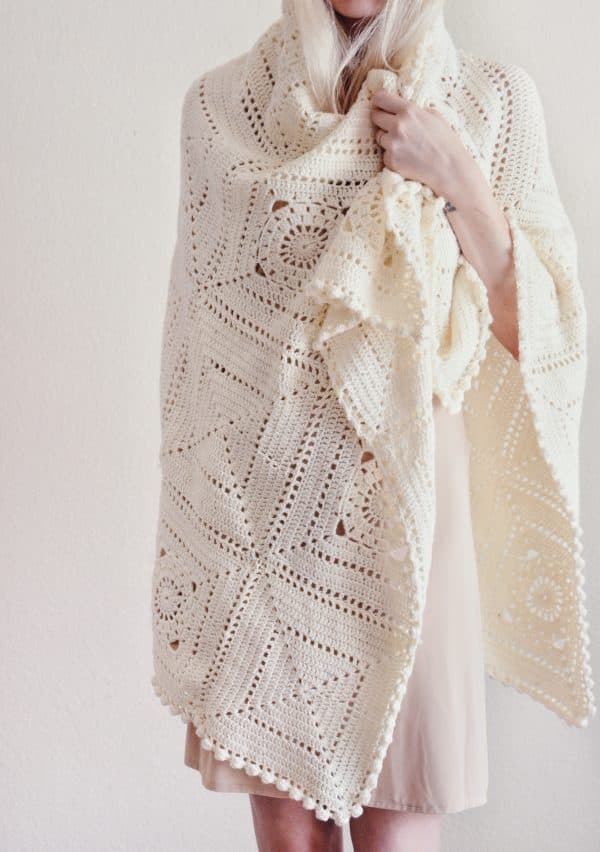
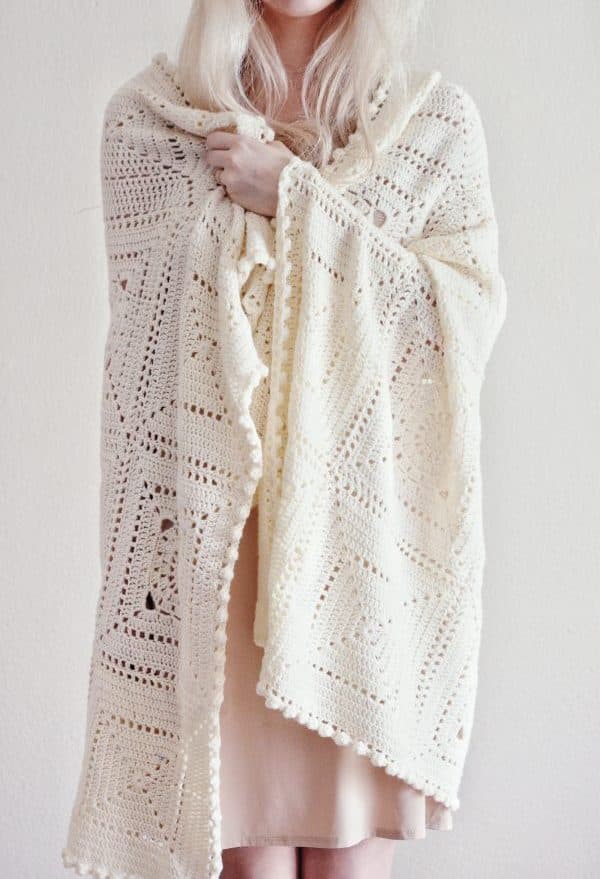
There are so many beautiful details incorporated into the design of The Honeymilk Throw that I just love so much! One of the squares starts as a circle, and then grows into a square, and incorporates eyelet lace details. The other square is a beautiful "x" classic square design, that also incorporates lace eyelet details. Both squares are larger than your average granny square. Then there is the dainty bobble edge detailing all the way around the blanket that adds just the right amount of pop! I've mentioned it so many times before, but it's definitely worth repeating: The Honeymilk Throw is lightweight, airy, and not overly weighted or chunky like some crocheted blankets tend to be. This means that it is not only easier to wash and care for, but it also has less of a "handmade" feel, and is more modern, and is easier to drape over a chair, the bed, or your lap! This is a true heirloom blanket that can be loved and cherished for many generations.
Can I Crochet The Honeymilk Throw? Difficulty Level + Process For This Modern Granny Square Blanket
The Honeymilk Throw crochet pattern is perfect for advanced beginners, and is an overall easy pattern to follow. For those who have experience with basic crochet techniques, this pattern will be a breeze. I specifically designed this crochet pattern to be suitable for advanced beginners, because I wanted it to be easy to follow and fun, but just a more 'updated' version on a classic granny square throw blanket.
The Honeymilk Throw is comprised of various squares that are crocheted in the round, starting at the center, then growing outward. After each square is finished, it is set aside, until you have the amount of squares that the pattern calls for. Then all squares are easily seamed together. It's super easy to seam these squares together because each square has an eyelet lace detail on the outside, so when you put two squares together, you can easily see where to seam. In my opinion, this simple detail makes a world of a difference when seaming the throw together -- it took no time at all! After the throw is all seamed together, you will work a simple bobble border around the entire edge. Over the years, I've learned various ways to crochet bobbles (some difficult, others easy). I specifically designed the bobble edge of The Honeymilk Throw to be super easy to make and it whips up in no time at all.
What Do I Get When I Order The Crochet Pattern For The HoneyMilk Throw? Videos And More!
When you order The Honeymilk Throw crochet pattern, you'll get access to the highly-detailed PDF, which comes with all the instructions required to make the blanket (including a list of all the exact materials required). There are also links within the pattern to videos and techniques that can help you make it even easier! Additionally, you'll gain access to three video tutorials that guide you through crocheting the squares for this blanket (the videos are located at the end of this blog and are password protected).
All Darling Jadore patterns are "live", meaning they are being continually updated, with content and videos added regularly. All of our patterns are digital downloads that are e-mailed immediately after payment is processed, so make sure you enter in your correct e-mail at checkout. Unlike some designers, all Darling J'adore pattern links never expire, meaning you can download it at any time, and it will always be available to you. Additionally, we have a wonderful staff that's always here to help you with any technical issues you might face, and can be contacted at [email protected].
Video Tutorials For The Honeymilk Throw Crochet Pattern
Note: If you've purchased The Honeymilk Throw crochet pattern, you automatically gain access to these video tutorials. These tutorials are password-protected and the password is located within the pattern PDF as well as within the e-mail confirmation.
If you ever run into any technical issues, feel free to contact the Darling Jadore Technical Support Team via email at [email protected] and they will be happy to assist you.






Comments are closed.